Installing a residential water heater is an important task that ensures your home has a reliable supply of hot water for daily use. Whether you are replacing an old unit or installing one for the first time, understanding the basic steps and considerations can simplify the process significantly. The first step involves selecting the right type of water heater based on your household’s needs. There are several options available, including traditional tank heaters and tankless models. Tank heaters store a specific amount of hot water ready for use, while tankless systems heat water on demand, offering energy efficiency and space savings.
Once you have chosen the appropriate model, it is essential to determine the correct size to meet your family’s hot water demands. A unit that is too small may fail to provide enough hot water during peak times, whereas an oversized system can lead to unnecessary energy consumption and higher costs. Consulting with a professional or using sizing guides provided by manufacturers can help make this decision easier.
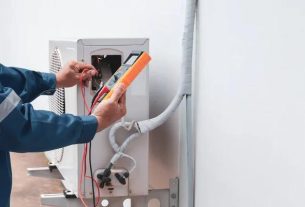
Before installation begins, turn off the main power supply and shut off the cold-water inlet valve to prevent accidents or leaks. For electric heaters, disconnecting power at the circuit breaker is crucial; gas units Service Squad require shutting off gas lines safely. Next, drain any existing water from old tanks if you are replacing an older unit to avoid spills during removal.
Positioning your new heater correctly is another key factor in successful installation. It should be placed near existing plumbing connections to reduce pipe modifications and ensure efficient operation. Additionally, maintaining proper clearance around the unit allows for easy maintenance access and complies with local building codes.
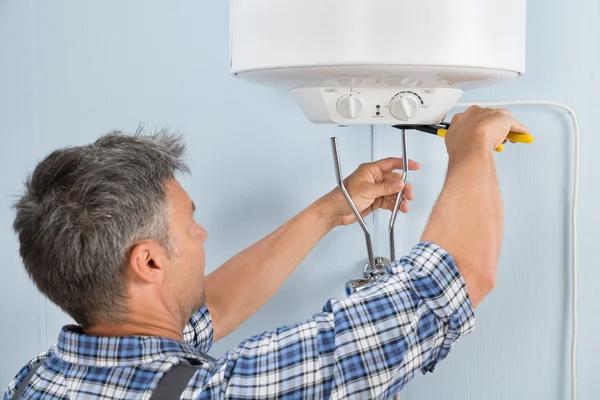
Connecting plumbing lines requires careful attention to detail as well as ensuring all fittings are secure and leak-free after installation. Using Teflon tape on threaded connections helps create tight seals between pipes and fixtures. For gas models, checking for leaks with soapy water or specialized detectors after connecting gas lines safeguards against dangerous situations.
After securing all connections, fill the tank slowly with cold water before restoring power or lighting pilots depending on your system type. This prevents damage caused by heating an empty tank while allowing air trapped inside piping to escape through open faucets until steady flow resumes.
Finally, testing your new system confirms proper functionality; check temperature settings according to manufacturer recommendations so that hot water reaches desired levels without wasting energy or posing scald risks.
By following these straightforward steps carefully or hiring qualified professionals when needed, residential water heater installation becomes manageable without stress or confusion-ensuring comfort throughout every season in your home environment.
Service Squad
680 E Colorado Blvd, Suite 180, Pasadena, CA 91101
626-333-6519